If you are just starting out with Docker containers for Sitecore and looking for some guidance, you’ve come to the right place. This post will walk you through the steps needed to set up a Sitecore container on your local machine. Before we start installing the Docker desktop application on our local machine, please make sure you have following ready:
- You must run Windows 10 Professional or Enterprise version 1903 or later. For enabling process isolation, you need version 1909, or later
- you must enable Hyper-V
To install Docker Desktop:
- Download Docker Desktop for Windows and run the installer
- Docker Desktop does not automatically start after installation. If you have not already done so, start Docker Desktop. When the Docker item (the whale icon) in the Windows system tray stays steady, Docker Desktop is up and ready to go
Sitecore development uses Windows-based containers. If you did not choose Windows containers during the installation, do it now.
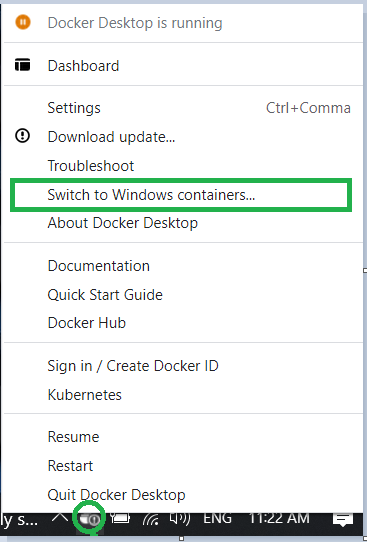
To switch to Windows containers:
- Use the Docker item (the whale icon) in the Windows system tray:
- Open PowerShell as administrator and run the Docker version command. You should be able to see something like the image below. Make sure that
OS/Arch:windows/amd64
Now that you are done Setting up Docker Desktop, you’re ready to run your first Sitecore application on it. We will download or clone a Docker example from the GitHub to our local machine.

- To make it simple, let’s navigate to the folder \Helix.Examples-master\examples\helix-basic-unicorn which contains the configuration file for launching a vanilla Sitecore instance. Then let’s open PowerShell as administrator at the root of this directory
- Open the init.ps1 file in your editor of choice. You can set it as below or leave the default values as they are
[string] $HostName = "mysitcoreinstance", # We do not need to use [SecureString] here since the value will be stored unencrypted in .env, # and used only for transient local example environment. [string] $SitecoreAdminPassword = "b", [string] $SqlSaPassword = "SC2@22", - Run the following commands, replacing the -LicenseXmlPath with the location of your Sitecore license file:
- .\init.ps1 -LicenseXmlPath C:\License\license.xml: After executing this command few things will happen
- Install SitecoreDockerTools
- Populate the environment file
- Configure TLS/HTTPS certificates
- Add Windows hosts file entries
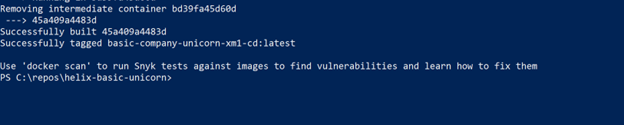
- Docker-compose build: this will download all the necessary image required to spin the Sitecore containers. If everything went well, you should see something like
You might run into errors like “unable to connect to remote server” or “a connection error for a NuGet restore operation”
To fix these, you first need to check if there are multiple adapters present on the host. Use the following command to check the InterfaceMetric number for your primary internet-connected networking adapter. It’s supposed to be at lower number
Get-NetIPInterface -AddressFamily IPv4 | Sort-Object -Property InterfaceMetric -DescendingUse this command to make the change InterfaceMetric
Set-NetIPInterface -InterfaceAlias 'Wi-Fi' -InterfaceMetric 3Restart the PowerShell prompt and now you should be able to proceed.
- .\init.ps1 -LicenseXmlPath C:\License\license.xml: After executing this command few things will happen
- Use command iisreset.exe /stop to stop iis server
- Stop solr service if it is running. Use the command
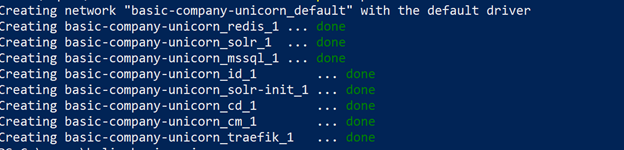
Stop-service -Name “yoursolrinstancname - Finally run command docker-compose up -d. The result should be like below
Congratulations! you have successfully launched Sitecore vanilla using docker and container.
When you try to access CD instance (https://www.basic-company-unicorn.localhost/), you will get an error: The layout for the requested document was not found.
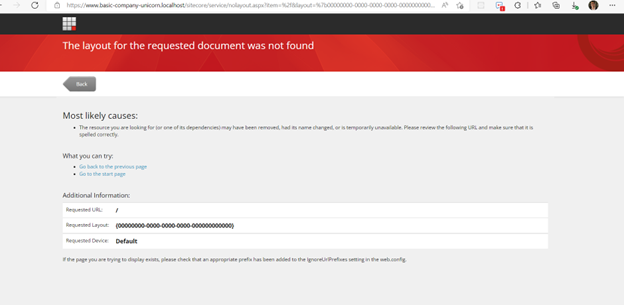
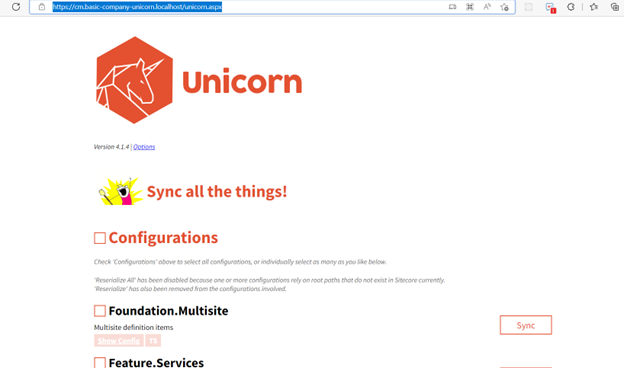
To solve this issue, we need to do unicorn sync to desterilise the item back to the Sitecore instance. enter the URL https://cm.basic-company-unicorn.localhost/unicorn.aspx in the browser. You should be directed to a page like the one below and be able to do the unicorn sync.
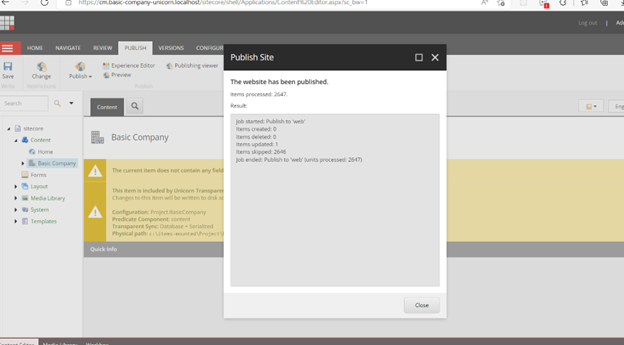
After sync is done publish the site
And now enter the CD URL in your browser. You should be able to see the site now
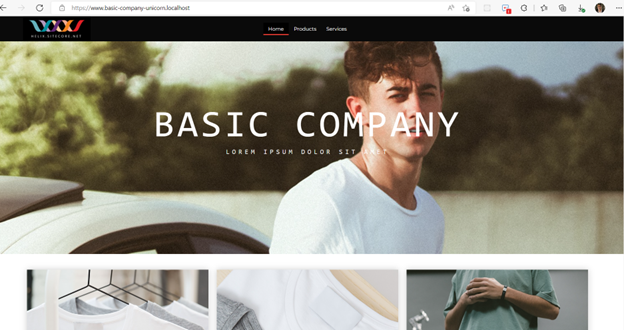
Well done! You have set up a Sitecore Docker container on a local instance