
Creating a Sitecore Form
The purpose of our form will be to collect the required information for a visitor to register for our upcoming webinar. Our form will include a First Name, E-mail Address, Webinar Topic and Submit button. Here are the steps:
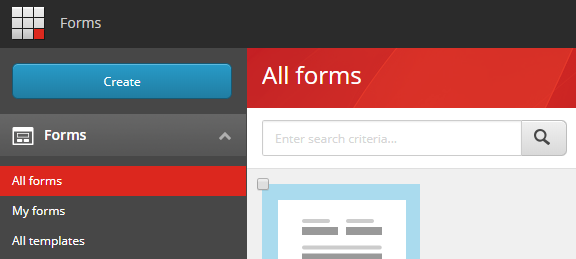
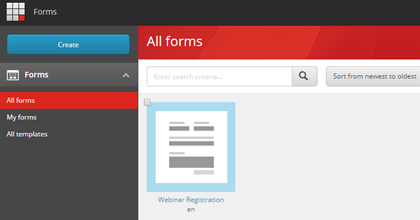
- Login to Sitecore and click on Forms from the Launch Pad.
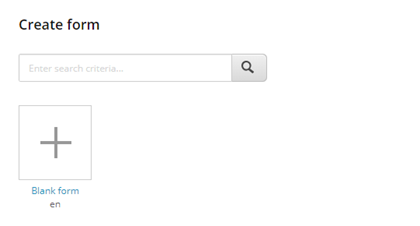
- Click on Create in the top-left corner.
- Choose Blank Form to create an empty form canvas.
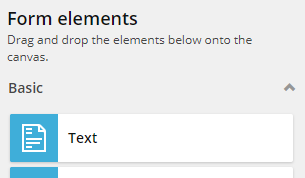
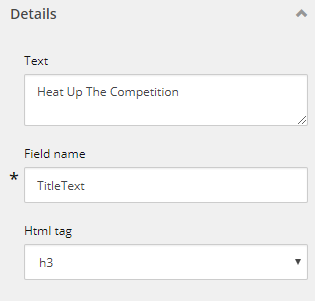
- Now that we have a canvas to build our form on, let’s go ahead and add a spicy title. From the right-hand Form Elements panel, click and drag the Text field to the left, onto the canvas.
- Click the field once it’s on the canvas and notice that the right-hand panel changes to give you specific options for this new field. In the Details section set the field values as follows:
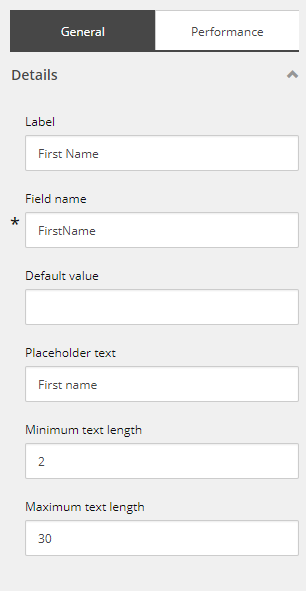
- Next, we’re going to add a First Name field which is a single-line text field. Click and drag the Single-line Text field onto the form canvas.
- Click on the field and notice that the right-hand panel changes to give you specific options for this new field. In the Details section set the field values as follows:
- In the Validation section, select Mandatory to make this a required entry field.
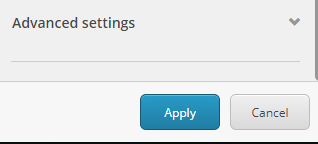
- Click Apply to keep your changes and return to the Form Elements panel.
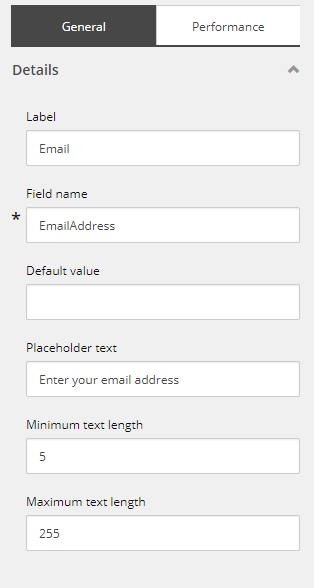
- Add an Email field by dragging it onto the canvas and configure it as follows:
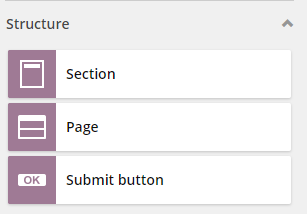
Remember to click Apply. - Last, but not least, let’s add a Submit button.
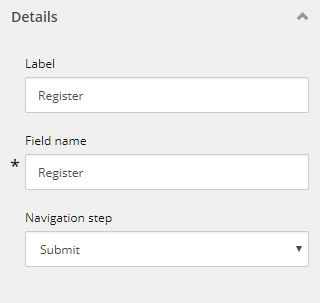
- For now, we’ll only change the button Label and Field name. We’ll add Submit Actions in the next post.
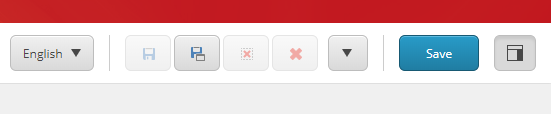
- Save the form.
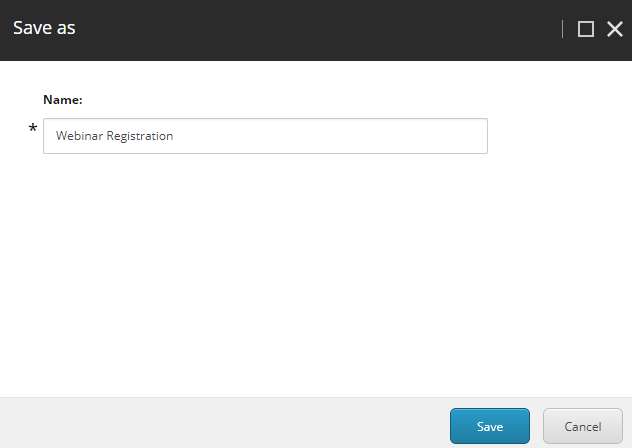
- Give it the name Webinar Registration and click Save again.
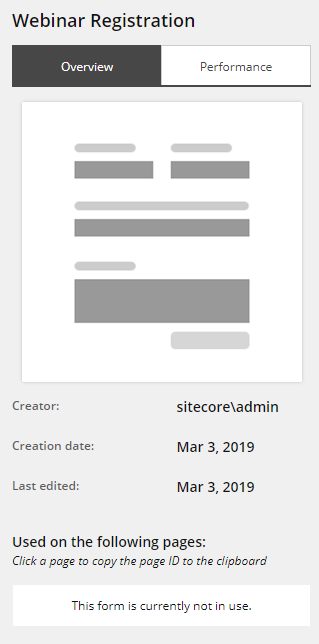
- Click the Back button to see a list of forms created.
- Notice the right-hand panel tells us which pages the form has been used on. In our case it says “not in use” which we’re about to change.


Adding a Sitecore Form to a landing page
With our form now created, let’s add it to the landing page so we can see our great work. Remember the form won’t work just yet as we haven’t configured any Submit Actions.
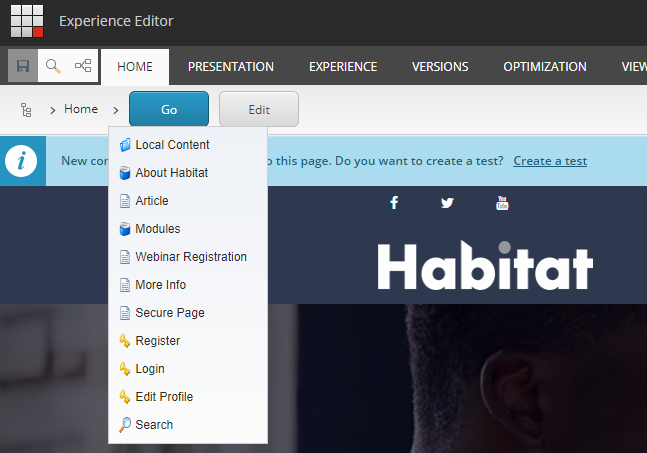
- Open the Experience Editor and navigate to our landing page called Webinar Registration.
- Click on the right sidebar placeholder area to display the col-narrow toolbox and associated Add Here option.
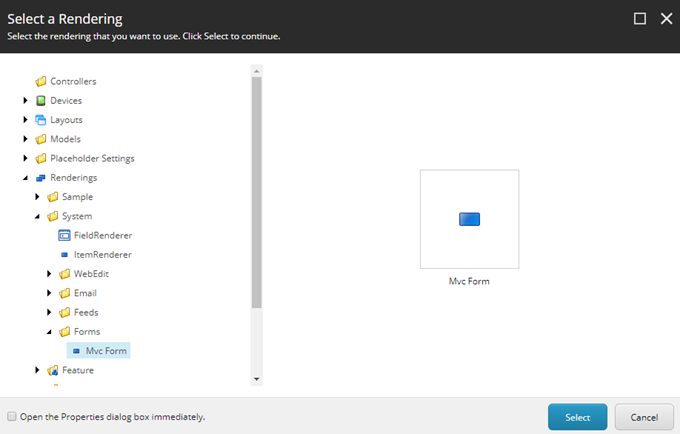
- Click Add Here to add an MVC Form rendering.
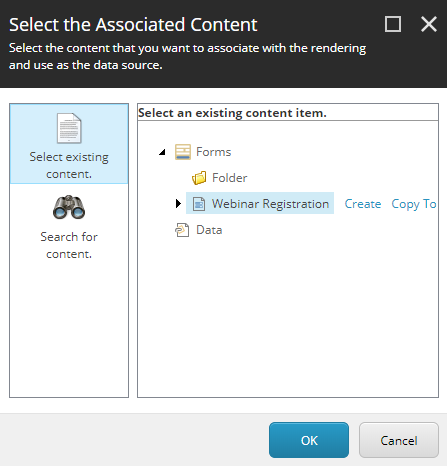
- In the Select the Associated Content dialogue box, choose the Webinar Registration form you created and click the OK button.
- You will now see a form on the page, but it doesn’t look that great. We need to apply some styling to the form, its fields and the Submit button, which we’ll do in the next article in this series “Configuring a Sitecore Form and Submit button”.


Progress Check
- Create a landing page with a call to action banner
- Create a Sitecore Form and put it on our landing page
- Configure the Sitecore Form and Submit button
- Create some goals to be tracked based on user engagement
- Trigger goals and actions when form is submitted
- Add a personalized callout for the Refer a Friend or Colleague feature
Up next…Configuring a Sitecore Form and Submit button
Previously...Creating a Landing Page to Hold a Sitecore Form