To continue with our mini-series on the Sitecore Experience Marketing platform, in this post I'm going to expand on how to create goals and trigger them on page visits and form submission. Doing so will allow you to track engagement and personalize content based on goals, so let's get started!
Creating Goals
The first goal we want to track, in our scenario, is when someone visits our Webinar Registration page.
- Login to Sitecore and open the Marketing Control Panel.
- Locate the Goals item and expand it to see the existing goals.
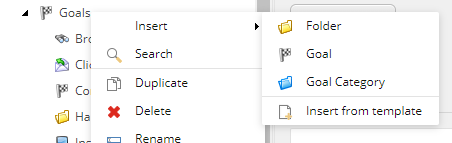
- Let’s create our own goal. Right-click on the Goals item and choose Insert and then choose Goal.
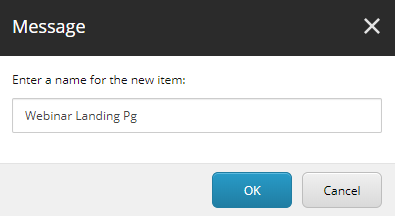
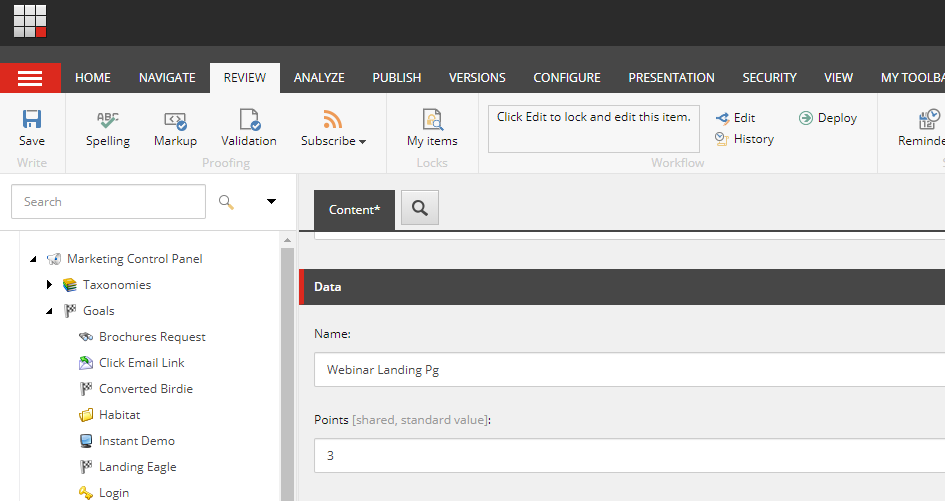
- Give the goal a name.
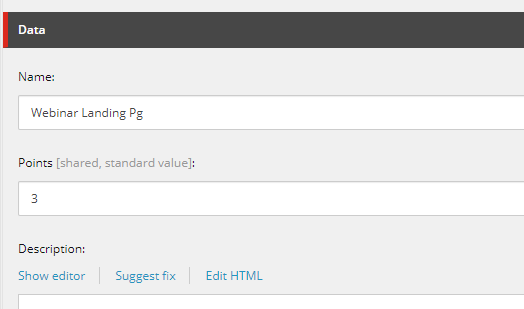
- Each goal has several settings, but for simplicity we’re only going to set the conversion or experience Value Points for this goal. Value Points lets you measure the engagement of your marketing activities and shows up in Sitecore Analytics reports. The scale and weight you give the points will be based on what stage in the customer journey the conversion takes place. Since the visitor hasn’t done anything other than land on the page, we’ll give it a fairly low point value – 3 out of 10 in our case.
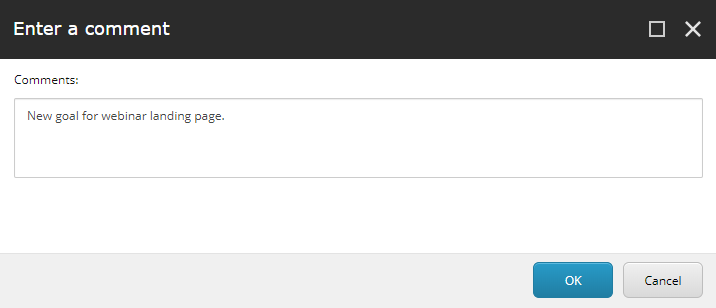
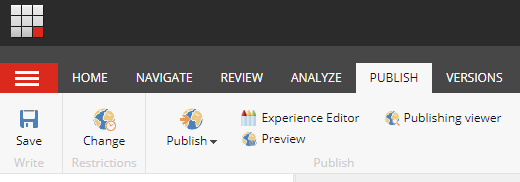
- The last step in creating a goal is to deploy (publish) it. Deploying a goal makes it available for use in tracking engagement. From the REVIEW menu click on DEPLOY.
- Enter a Comment about this goal’s deployment. You can also leave it empty.

That’s it for the first goal. We also want to create a second goal to track when someone has completed the Webinar Registration form. The reason we want to trigger a goal upon submission is so we can personalize the experience upon future visits and automate some marketing tasks such as asking for referrals based on a visitor’s previous commitment to attend the webinar.
Let’s go ahead and follow the steps above to create the second goal with the following modifications.
- Step 4 – Give the goal the name “Webinar Registration Completed”
- Step 5 – Set the Points to 10 since this goal shows great intent/interest by the visitor
Triggering Goals
There are many ways to trigger a goal in Sitecore. In our example, we want to trigger a goal when…
- Someone lands on our Webinar Registration page
- Someone submits the Webinar Registration form
To setup the first trigger, complete the following steps.
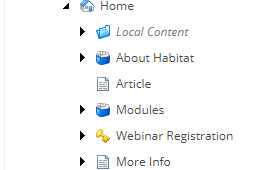
- Open the Content Editor.
- Select the Webinar Registration page.
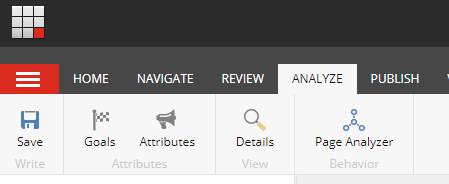
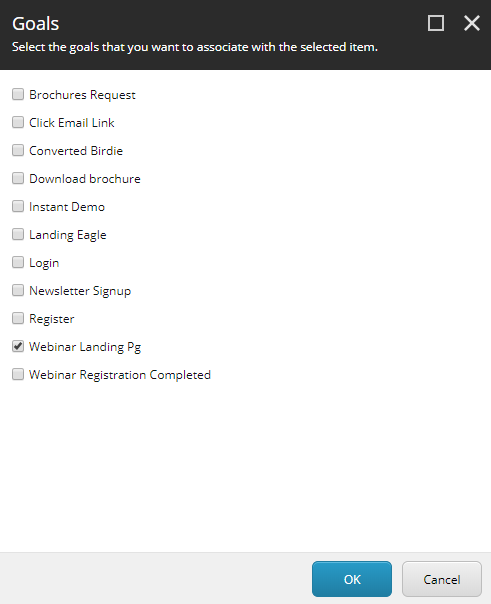
- From the ANALYZE menu choose the GOALS option.
- Select the Webinar Landing Pg goal and click the OK button.
- Save and Publish the page.

To trigger the second goal, we want to add a Submit Action to the webinar registration form. Here’s how:
- Return to the Sitecore Launch Pad and open the Sitecore Forms feature.
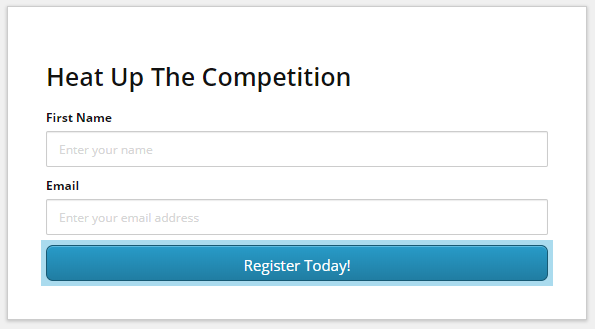
- Edit the registration form by clicking on its name in the All Forms dashboard.
- Click on the Register Today! Submit button on the form canvas. This will open the submit button’s configuration settings panel on the right.
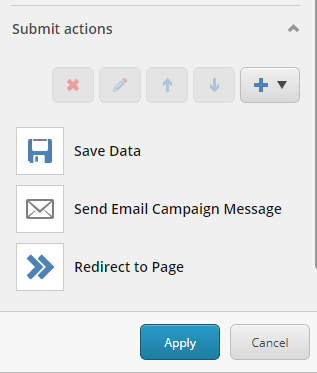
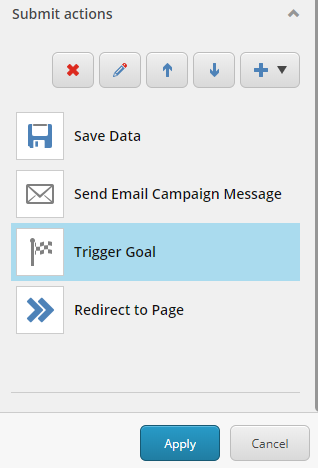
- On the Submit Button’s configuration panel, scroll down to the Submit Actions section. You should see the following actions that we created in the “Configuring a Sitecore Form Submit Button” post.
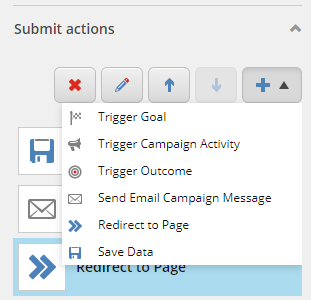
- Click the Plus sign to display a list of available actions and choose the Trigger Goal action.
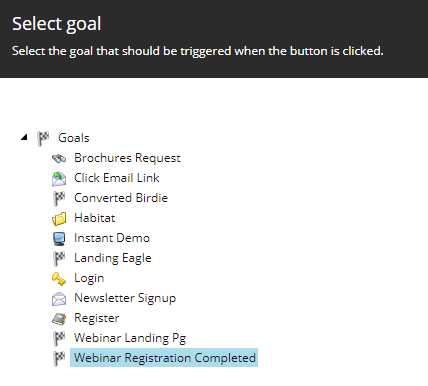
- In the Select Goal dialogue box, click the arrow next to the Goals item to expand the list of goals and choose the “Webinar Registration Completed” goal. Click the OK button to return to the actions panel.
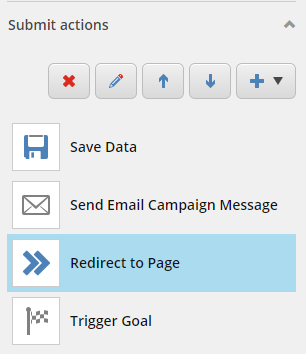
- Notice that our Trigger Goal action was added to the bottom of the list and comes after the Redirect to Page action. To ensure this goal is triggered before redirecting to the page, let us move it up above the Redirect to Page action using the move arrows.
- Select the Trigger Goal action and click the Up Arrow so that the ending list looks like this.
- Click the Apply button to accept your changes and then Save the form.

Because forms are dynamically loaded when placed on a page, it doesn’t need to be published for the saved changes to be live on the website.
Forms can also be saved as templates so you can reuse them to create similar campaigns and tracking.


Additionally, when a form is submitted the Save Data action saves all submitted data to the Sitecore Forms database for exporting. The export button is found on the All Forms dashboard.

Up next…Adding Personalized Callouts based on triggered goals
Previously...Configuring a Sitecore Form Submit Button