In this post, we’ll walk through the creation of a Reach component using the Sitecore-first workflow and following the Helix principles. Here’s a little bit of background to get you started:
- When it comes to headless development with Sitecore, there are –as you probably know- two main development workflows: the code-first and the Sitecore-first. While the code-first workflow can work for small sites, the Sitecore-first workflow is recommended for larger applications. Because JSS applications created based on official application samples are set up to use the code-first workflow by default, developers often need to transition JSS apps from code-first to Sitecore-first and to remove code-first artifacts from the JSS app
-
Here’s an article about applying the Helix principles in a headless application
Having taken care of transitioning to the Sitecore-first approach and removing the code-first artifacts, we can start.
First, let us start by creating a new template for the datasource:

The MyComponent template has two fields:
- Heading – a Single Line Text field
- Body – a Rich Text field
Next, we can create our component, we will need to create a Json Rendering:
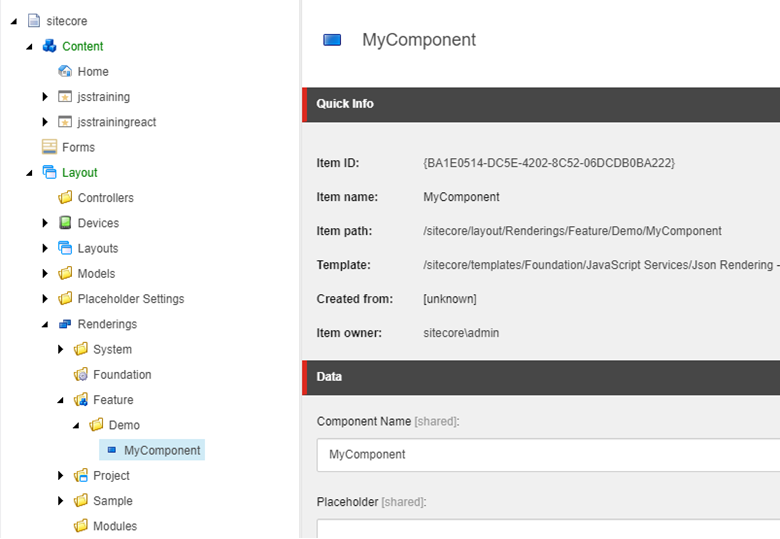
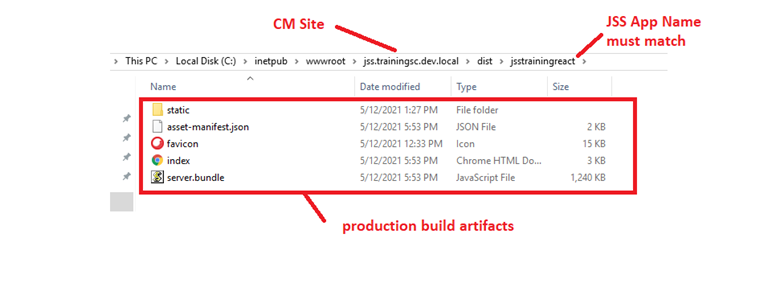
Note that the “Component Name” field must have the name of the component in the JSS app!
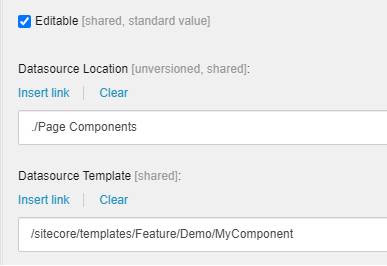
Let’s configure the datasource template and location:
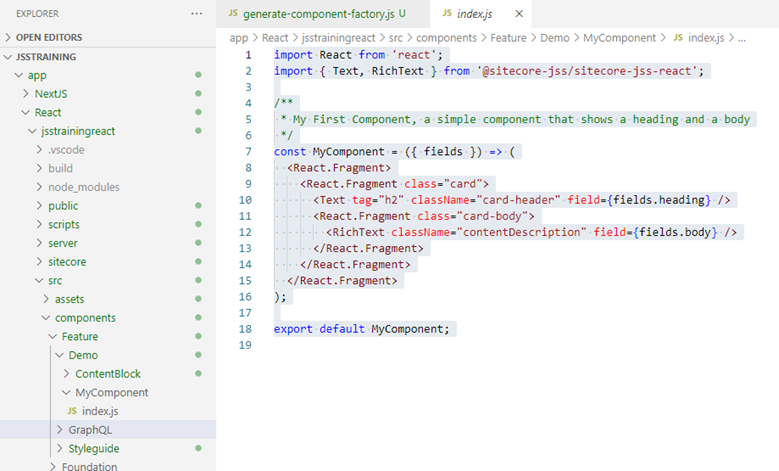
We are done with the backend for now. Let us build the front end. In your JSS app, under src/components/Feature/Demo, create a new folder called “MyComponent” (Just like the name in the rendering!) – create the index.js file inside that folder:
To use the component in the experience editor, we must first add the new component to the allowed controls of our placeholder(s). We must also deploy the JSS app:
Please refer to https://doc.sitecore.com/xp/en/developers/hd/190/sitecore-headless-development/walkthrough--connecting-a-jss-application-to-sitecore.html for more details.
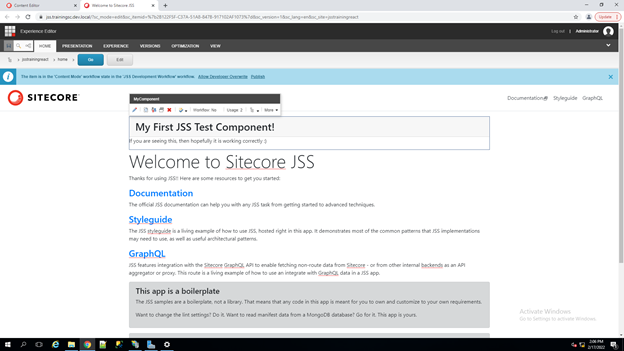
After deploying the build artifacts, we can use the component in the experience editor: