
This post was originally published by Ken Gray on November 13, 2018 and was edited by Hector Chen on February 2, 2022.
The publishing process is central to Sitecore and as such, it often generates many great questions (and support tickets). The reality is, Sitecore publishing is very well developed, and when understood, it is virtually problem free. So, let’s get into it. Shall we?
Publishing Best Practices
- Do not publish excessively. The two main reasons are:
- It slows down site performance as each “publish” clears the Sitecore cache used to load content from memory; which is faster.
- It can clog up the publishing queue and “hang” the application and/or hinder other content authors’ ability to manage content.
- Use workflow
- Clearly define your content governance (ya I know I’ve said it a bunch of times) It’s important – consider your publishing cadence, content authors/proof-readers, content approvers, etc. – process and teamwork, makes the content delivery-efficiency dream work.
- Optional: Configure interval publishing – more details will follow in Part 2 of Scheduled and Advanced Publishing with Sitecore article
- Setup Notifications
- If you are a content approver or publisher and you do not login into Sitecore regularly you can set up an RSS feed subscription on the Workbox which will alert you to new items awaiting your action.
- You can also set up e-mail reminders if content needs to come down on a specific day and time.
- Leave comments
- To inform the next “State owner” (a.k.a. the approver) of what’s changed or what to do.
- Approvers can review the comments in the Workbox.
- Be proactive with archiving old and un-published content.
- It speeds up publishing since there are fewer (unnecessary) items to check.
- Archived content can be restored if needed.
- See Part 2 on Un-publishing content.
Publishing Through the Sample Workflow
Sitecore comes with a sample workflow which we discussed in a previous article, which has a Draft, Awaiting Approval and Approved states and Submit, Reject, Approve and Auto Publish actions. With this workflow enabled on an item the content management and publishing process is as follows:
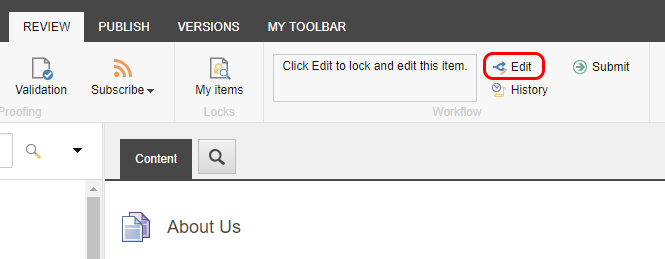
- Edit the item by selecting the item and clicking the Lock and Edit link in the content work area to the right. You can also click Edit from the Review tab to begin editing.
OR
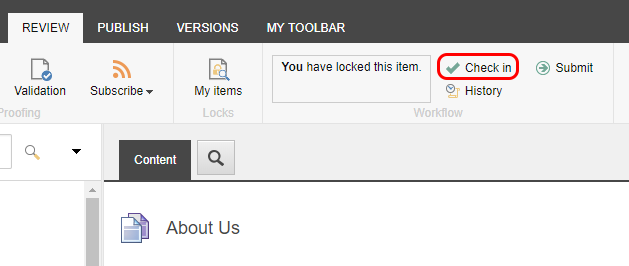
- To allow another person to make changes, be sure to Check In the item when you are finished with your edits for the moment.
- To allow another person to make changes, be sure to Check In the item when you are finished with your edits for the moment.
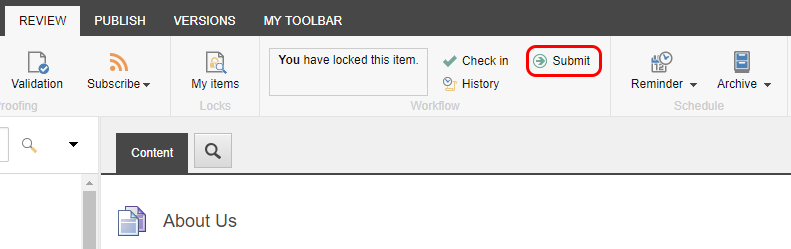
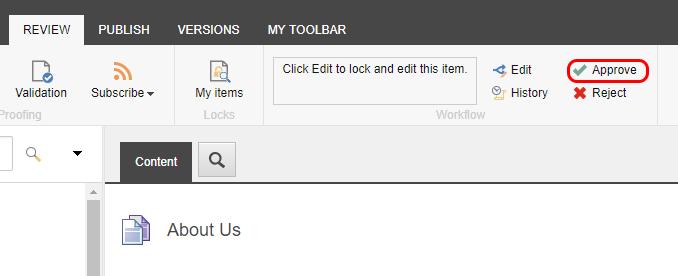
- When the content is ready for publishing/approval, with the item selected, click on the “Submit” option in the Review tab
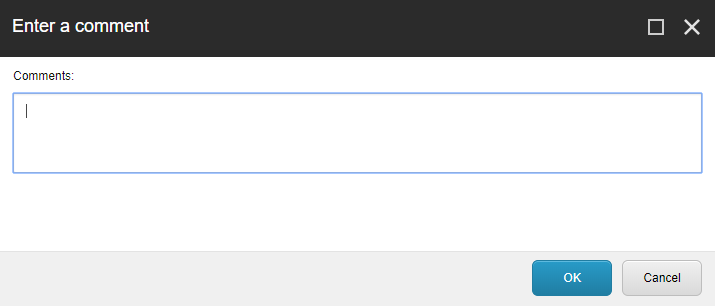
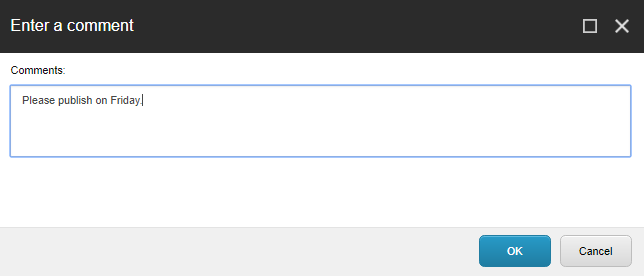
- In the Sample Workflow, you will be asked to enter a comment. You can enter one or leave it blank. Enter a comment and click the OK button to continue.
- In the Sample Workflow, you will be asked to enter a comment. You can enter one or leave it blank. Enter a comment and click the OK button to continue.
- The “Submit” option should now be replaced by the “Approve” option.
The best practice is to have someone else -an approver- review the item and then approve it, but if you are an approver, you can do it yourself by clicking the Approve option.
- Enter a comment (optional but recommended) and click OK.
- That’s it. Behind the scenes, Sitecore has gone ahead and published the new version to the live website based on the Auto Publish action set on the Workflow.

Manual Publishing
For a little more control of the publishing process, Sitecore also provides an immediate, manual publishing option. The is required if the item you want to make live doesn’t belong to a workflow or is already in the “approved” state and you don’t need approval to push the content live. With the appropriate permissions you can issue a manual publish like this:
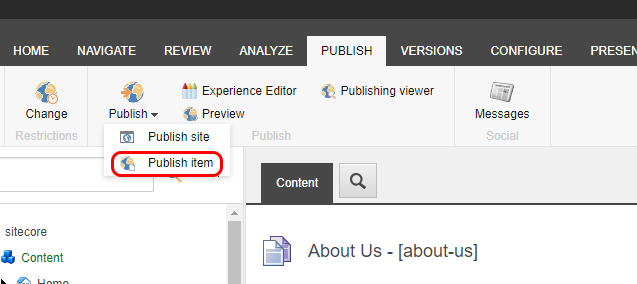
- On the Publish tab in the menu, click on the Publish dropdown arrow and choose the Publish Item option.
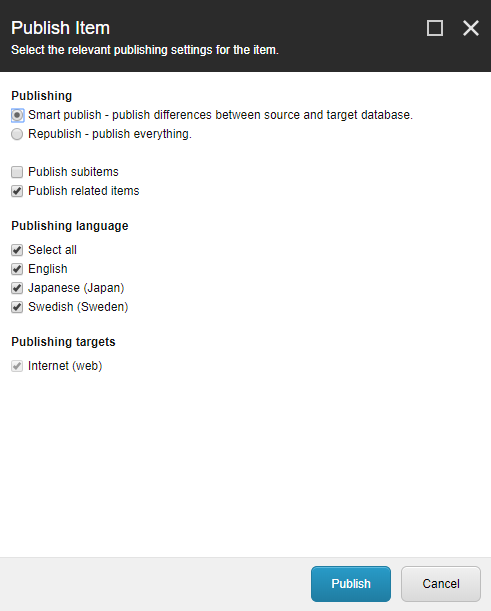
- In the Publish Item dialogue box…
- Ensure the Smart Publish option is selected
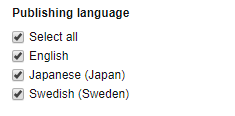
- Select the appropriate language to publish (you may only have one depending upon how your instance was set up)
- If there are subitems needing to be published choose the Publish Subitems option
- If there are new images or other related items being referenced on the item to be published, choose Publish Related Items
- Ensure the Smart Publish option is selected
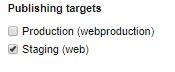
- Select the appropriate Publishing Target – in most enterprise setups and as a best practice there are a minimum of two targets; Production (the live website) and Staging (preview website – used often by non-Sitecore users like a legal department to review content before it goes live to the public) – that’s good governance.
- If the item is not ready to go live, be sure to deselect the Production option
- If the item is not ready to go live, be sure to deselect the Production option
- Click the Publish button.
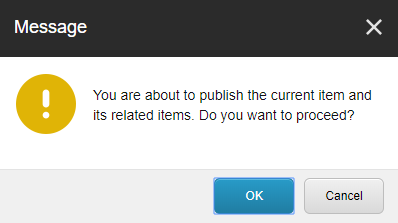
- If you selected the “Publish related items” checkbox, then you will be asked to confirm this choice. The reason being, Sitecore will look for any related items throughout the entire Sitecore tree, which takes longer than just publishing the current item and it’s subitems. Click OK to confirm or Cancel to go back and deselect the option if there are no related items needing to be published.
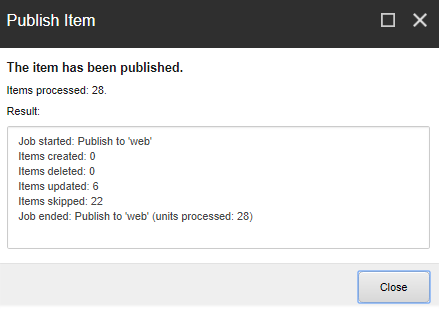
- Once complete, you will get a summary screen verifying your item was published.


Well, as you can see there is a lot to publishing. We’ll continue with more details on Auto Publishing and Un-publishing items in Part 2.