
Well, we’ve come to the end of the road for this series. I hope that you’ve been able to glean some nuggets and increase your proficiency in the use of Sitecore. If this is your first article, I recommend you visit the index page that lists all the posts in the Productivity Tips for Sitecore Content Authors and Experience Marketers.
So let’s get to the meat of this topic, shall we?
The Experience Editor, Sitecore’s on-page editing tool, gives content authors and marketers the ability to update multiple components and content items in a single place. This is made possible because of Sitecore’s powerful component architecture.
With Sitecore’s Experience Editor, productivity is greatly increased as you do not have to search through a vast Content Tree to find the content you want to edit, you simply go to the page and make your edits _right on the page_. Once your changes are done, you can save and publish them to make them visible to the public.
The Experience Editor is also where many of the personalization features or the customer experiences are crafted and maintained. Marketers can simulate visits and see how their personalization rules impact content and the user experience before deploying them.
Getting Around
When in the Experience Editor, navigation can be a bit tricky since links can also be editable content. To assist you with getting around, Sitecore provides a Navigation Bar.
Click on View in the menu and check the Navigation Bar checkbox.
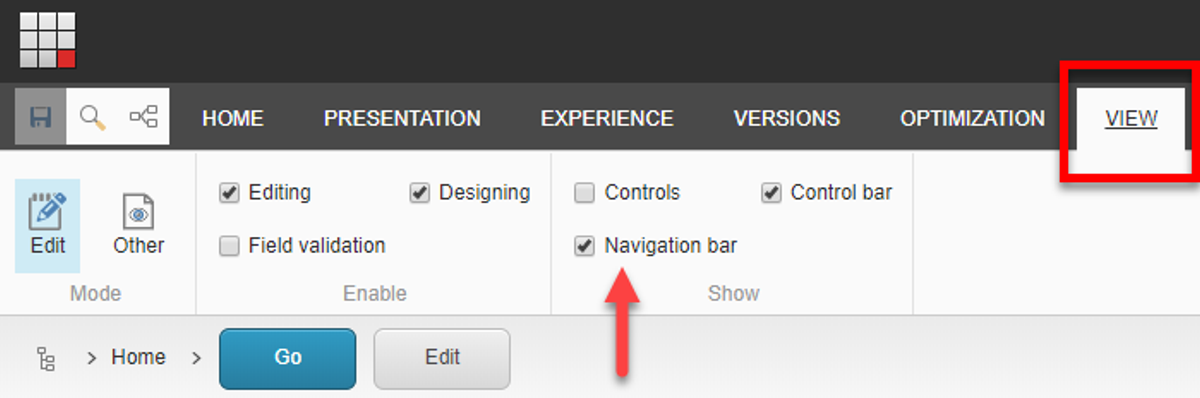
Search in the Experienced Editor
When you search for an item in the experience editor, Sitecore will navigate you to the item if it is a “page”. If not, Sitecore will produce the following error.
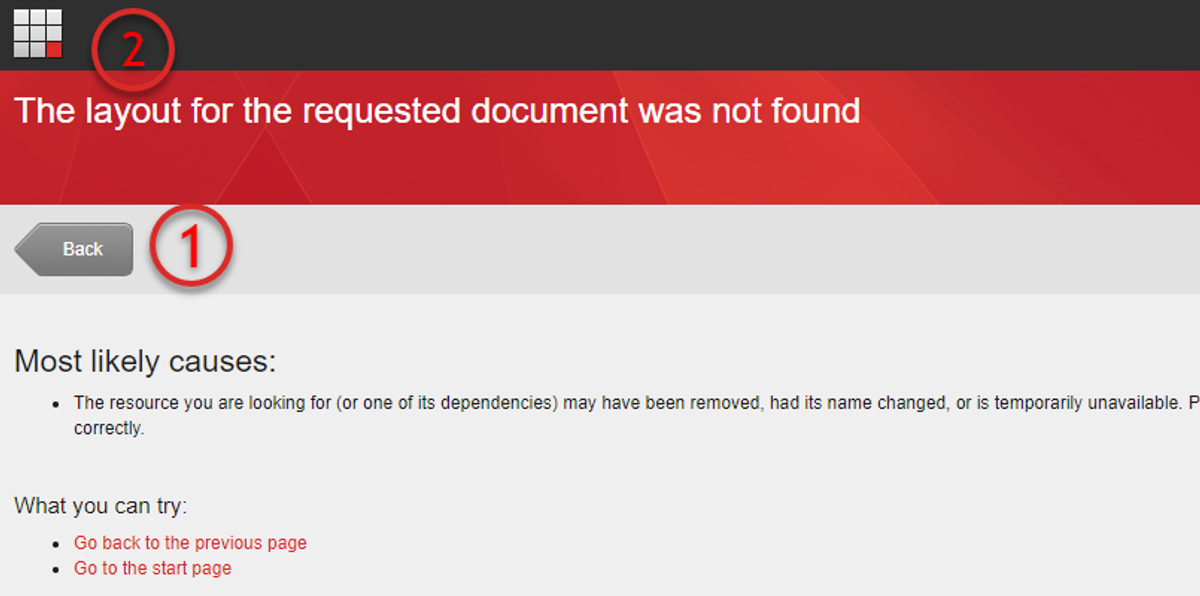
Simply click the Back button (1) or the Launch Pad button (2) to return to somewhere more familiar.
Create a page in Experience Editor
- Log into Sitecore and click on the Experience Editor icon.
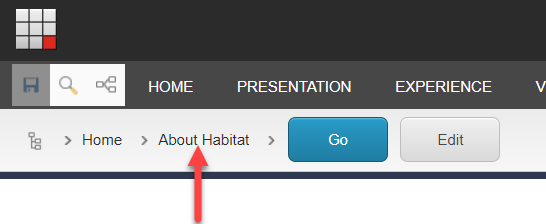
 2. Use the Navigation Bar to open the About Habitat page
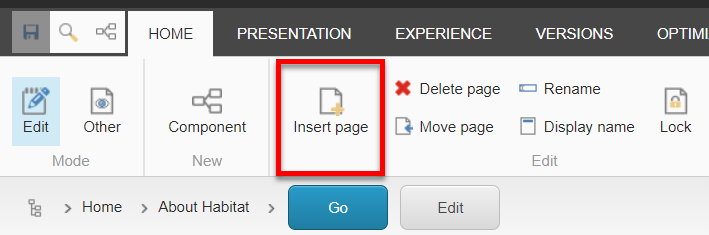
 3. Click Insert Page from the Home ribbon.
 4. Choose the Article template, give your new page a name and click the OK button to complete the creation process.
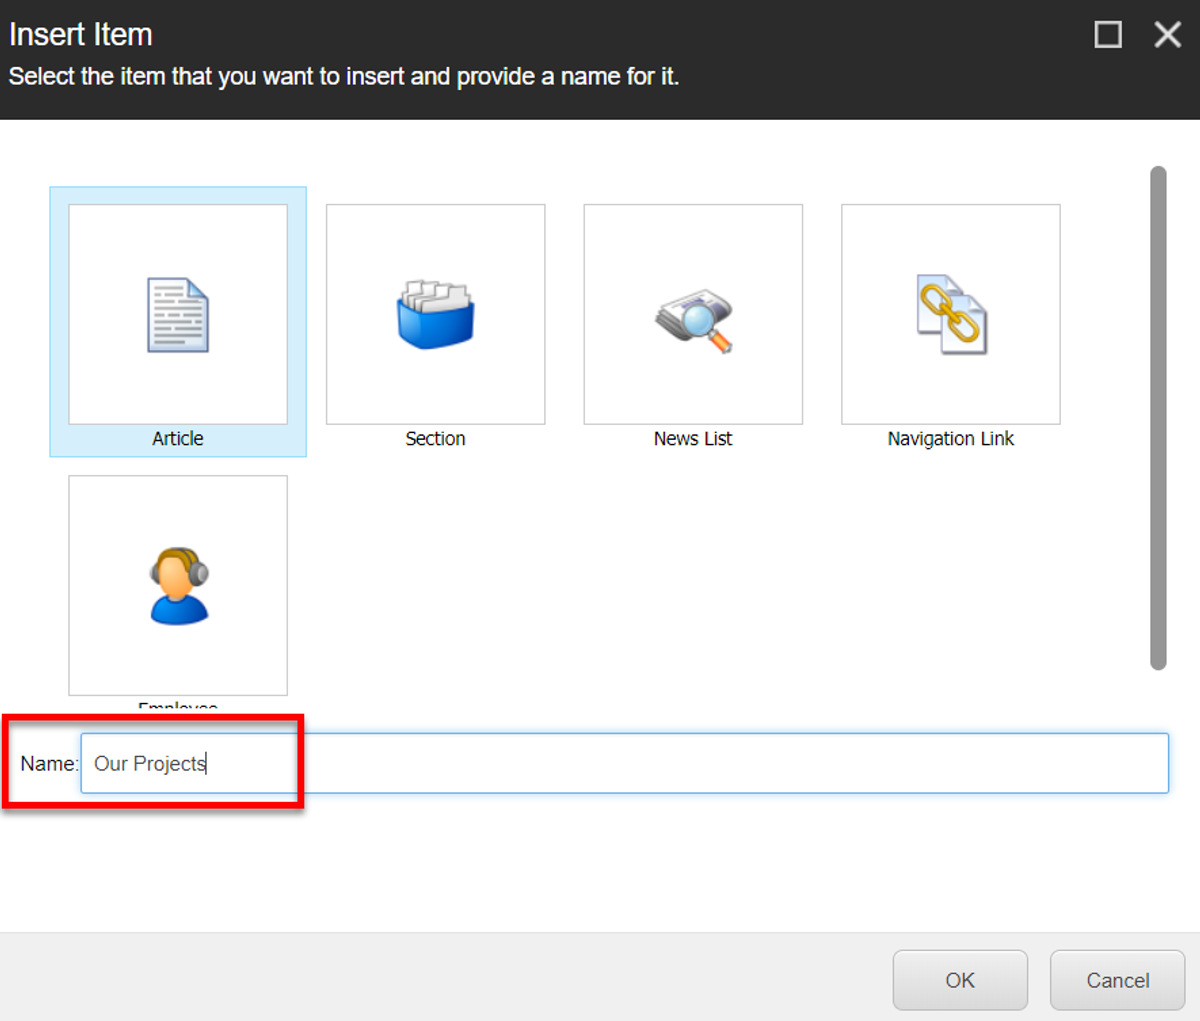
After a few moments, a page will be created with the default Header, Navigation, Left Navigation, Content Body, and Footer sections. Specific page content is added using the content placeholders.
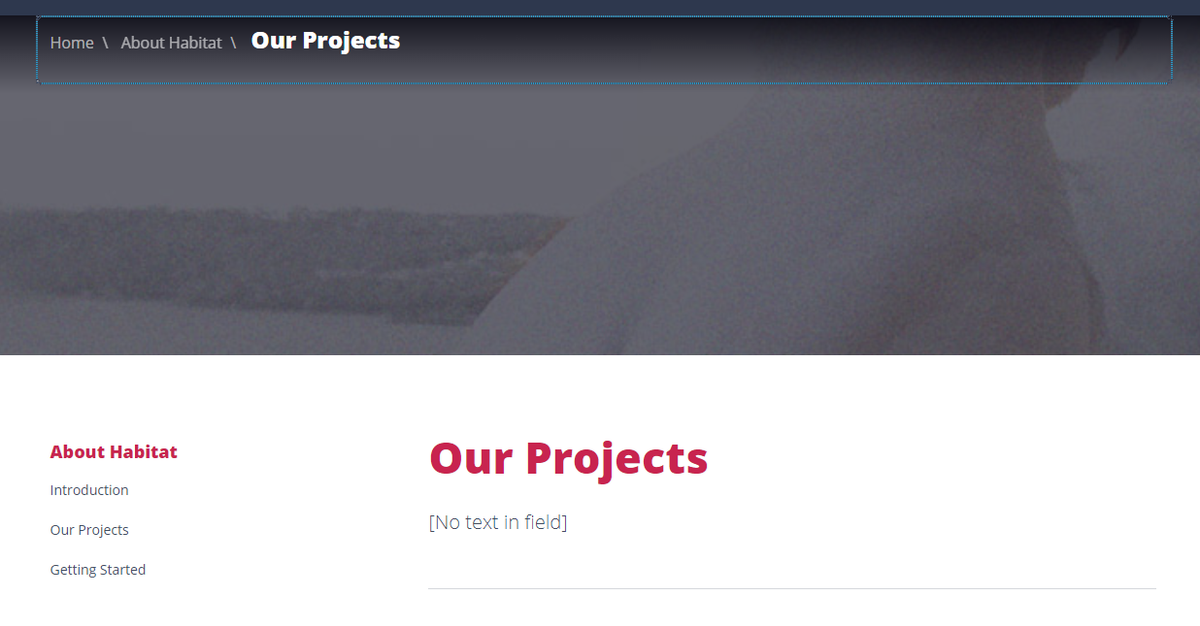
Find the page in the Content Editor
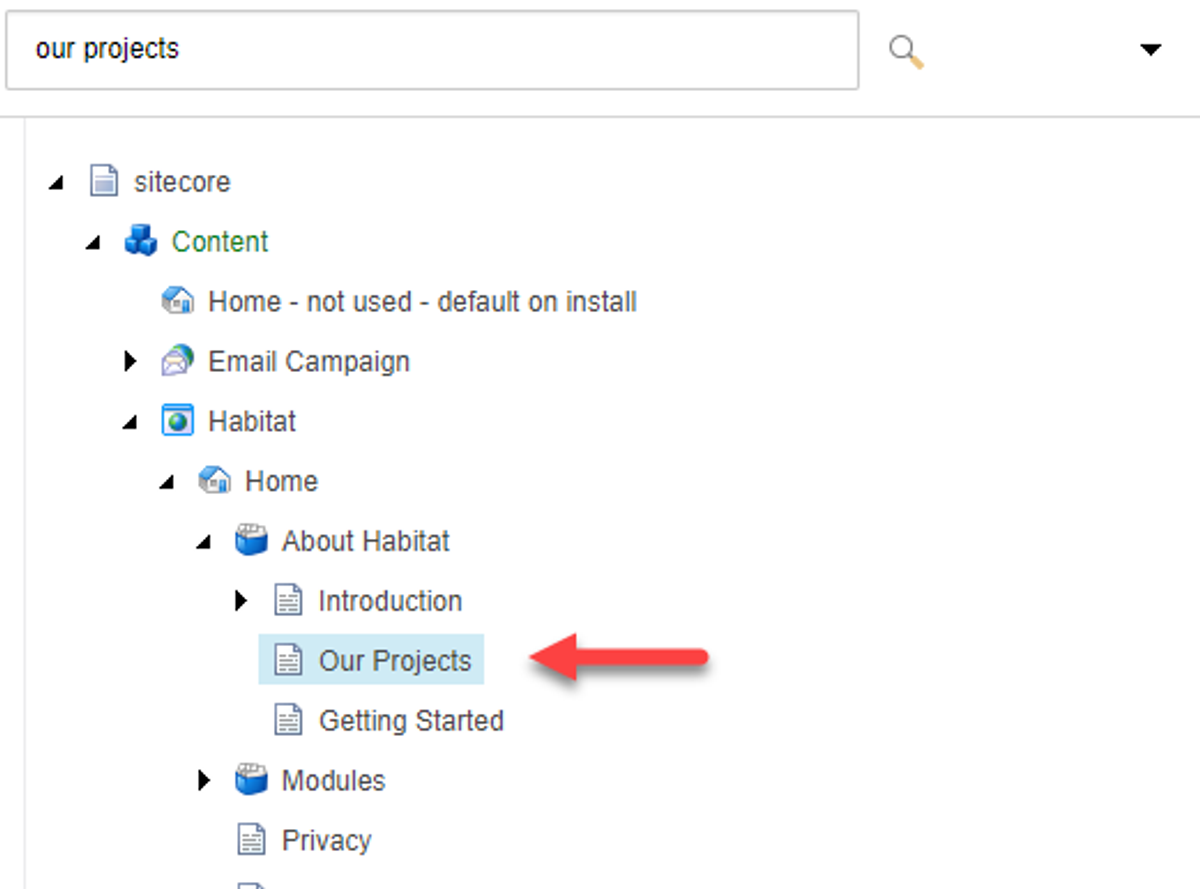
Even though the page was created in the Experience Editor, it is available within the Content Editor at the same location in which is was created; namely under the About Habitat page.
- Switch to the Content Editor by first clicking the Launch Pad icon in the top-left corner and then choosing the Content Editor option.
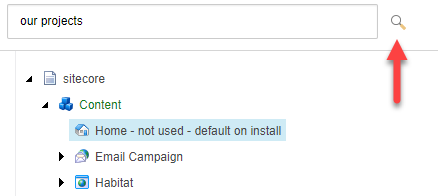
 2. Type the name of the page you created into the Search box, and press Enter or click the magnifying glass (search) icon.
 3. You should see the page in the Tree (#1) as well as the Content Work Area (#2).
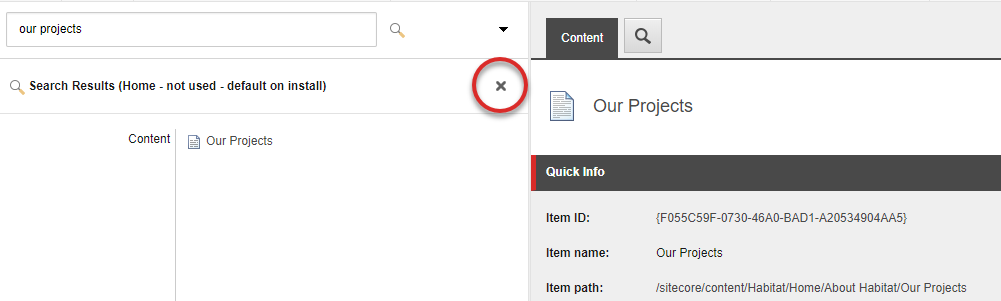
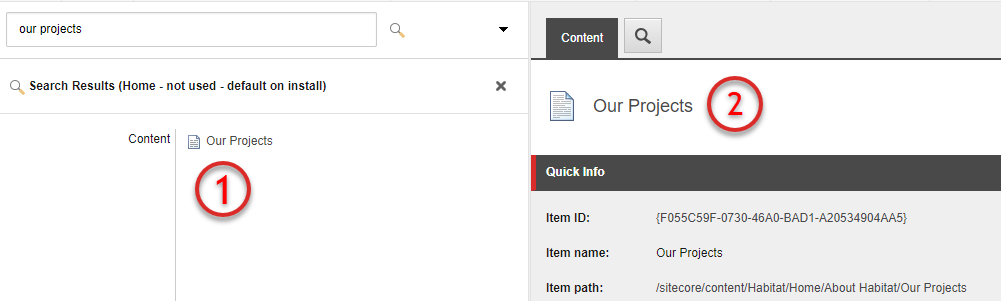 4. You can click the X to close the search filter.
 5. You should now see the full Content Tree with your page selected.
Explore Mode
In Explore Mode, Sitecore gives you tools where you can test your personalization settings to ensure they work before publishing them live. It can also be used to simulate scenarios before you actually implement them.
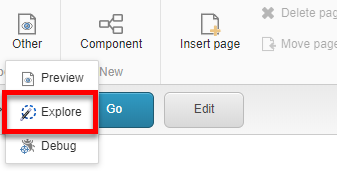
- From the Experience Editor’s Home ribbon, click the OTHER button (I know…it’s a really bad name for a button).
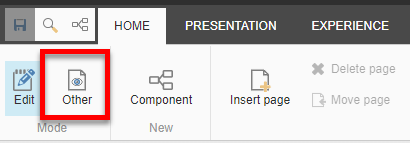 2. Choose the Explore option.
 3. Sitecore overlays two new panels; one to the left and the other to the right of the screen. You should see two arrows on either side of the screen which open and close the panels.
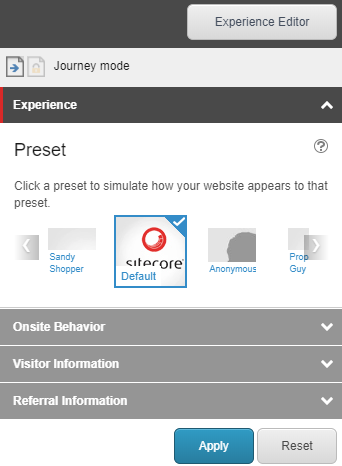
 4. The visitor Journey Mode panel is on the left. This is where you craft your tests/scenarios.
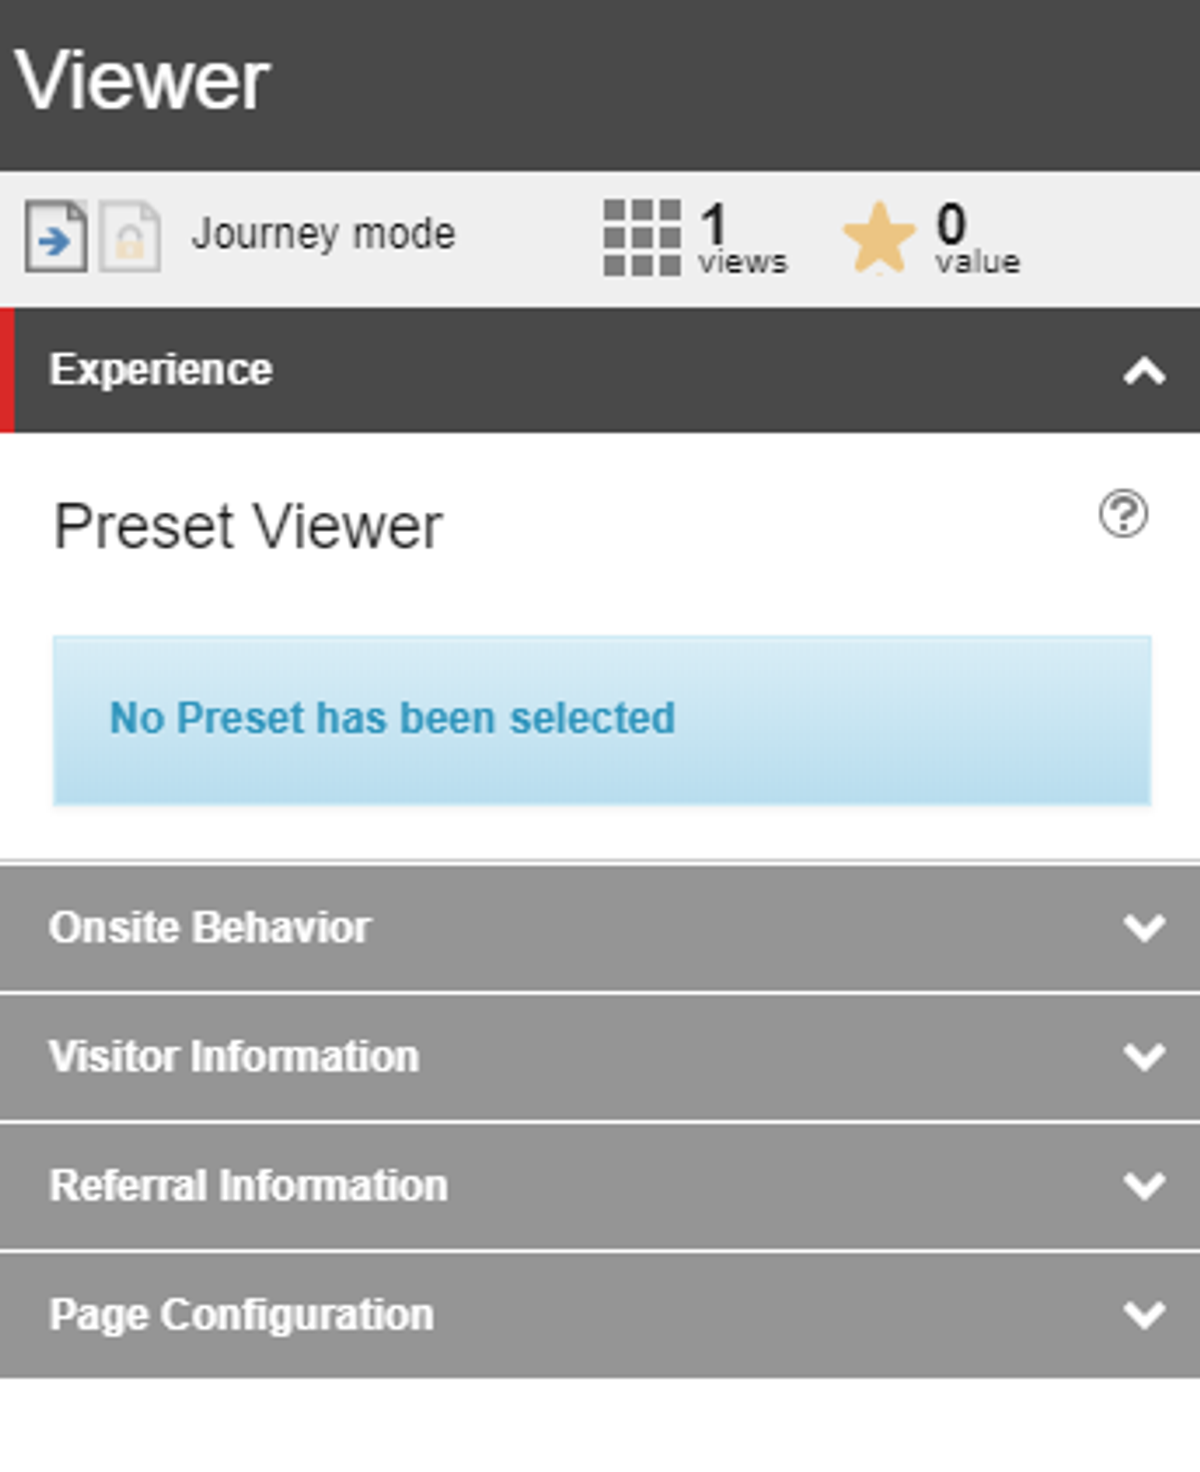
 5. And the Experience Viewer panel is on the right. As the name suggests, it’s where you view the results of your tests/scenarios.
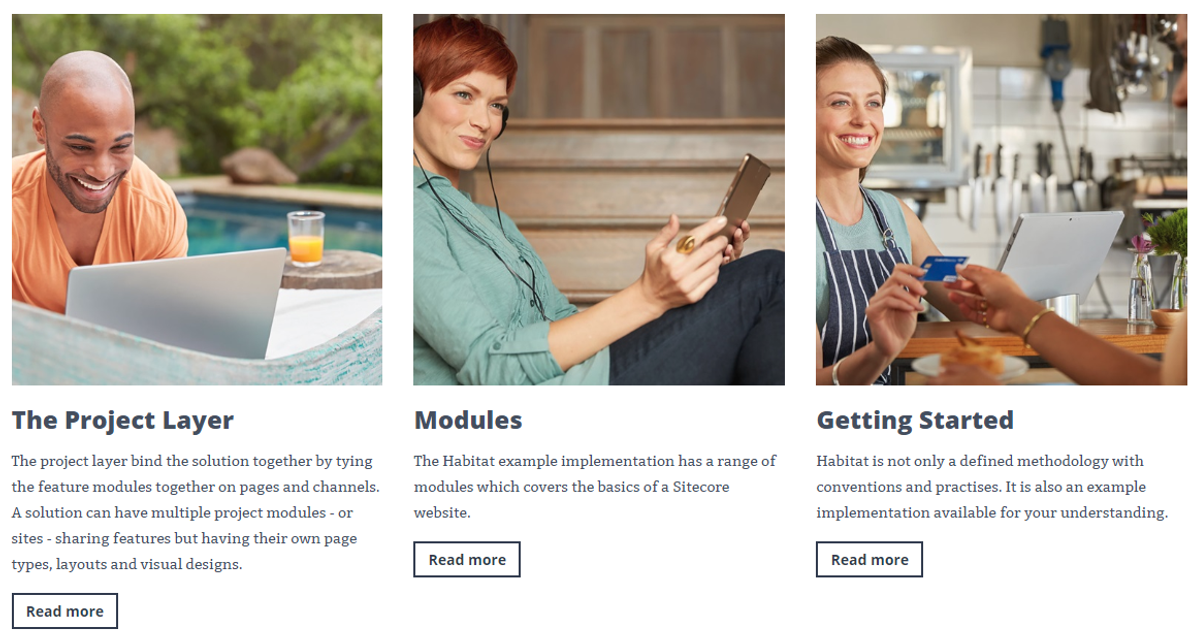
Here are the before and after screenshots of a section of our sample website. The after shows the personalization that was triggered when our visitor achieved the “tweeted” goal on our website.
Before the Goal is achieved:
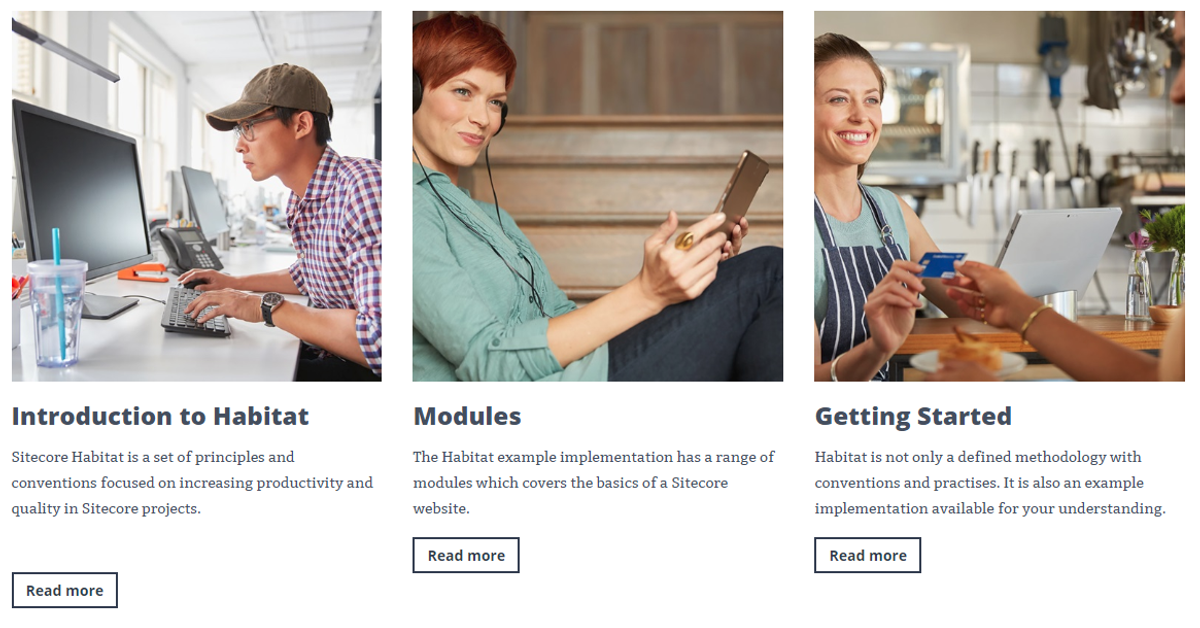
After the Goal is achieved:
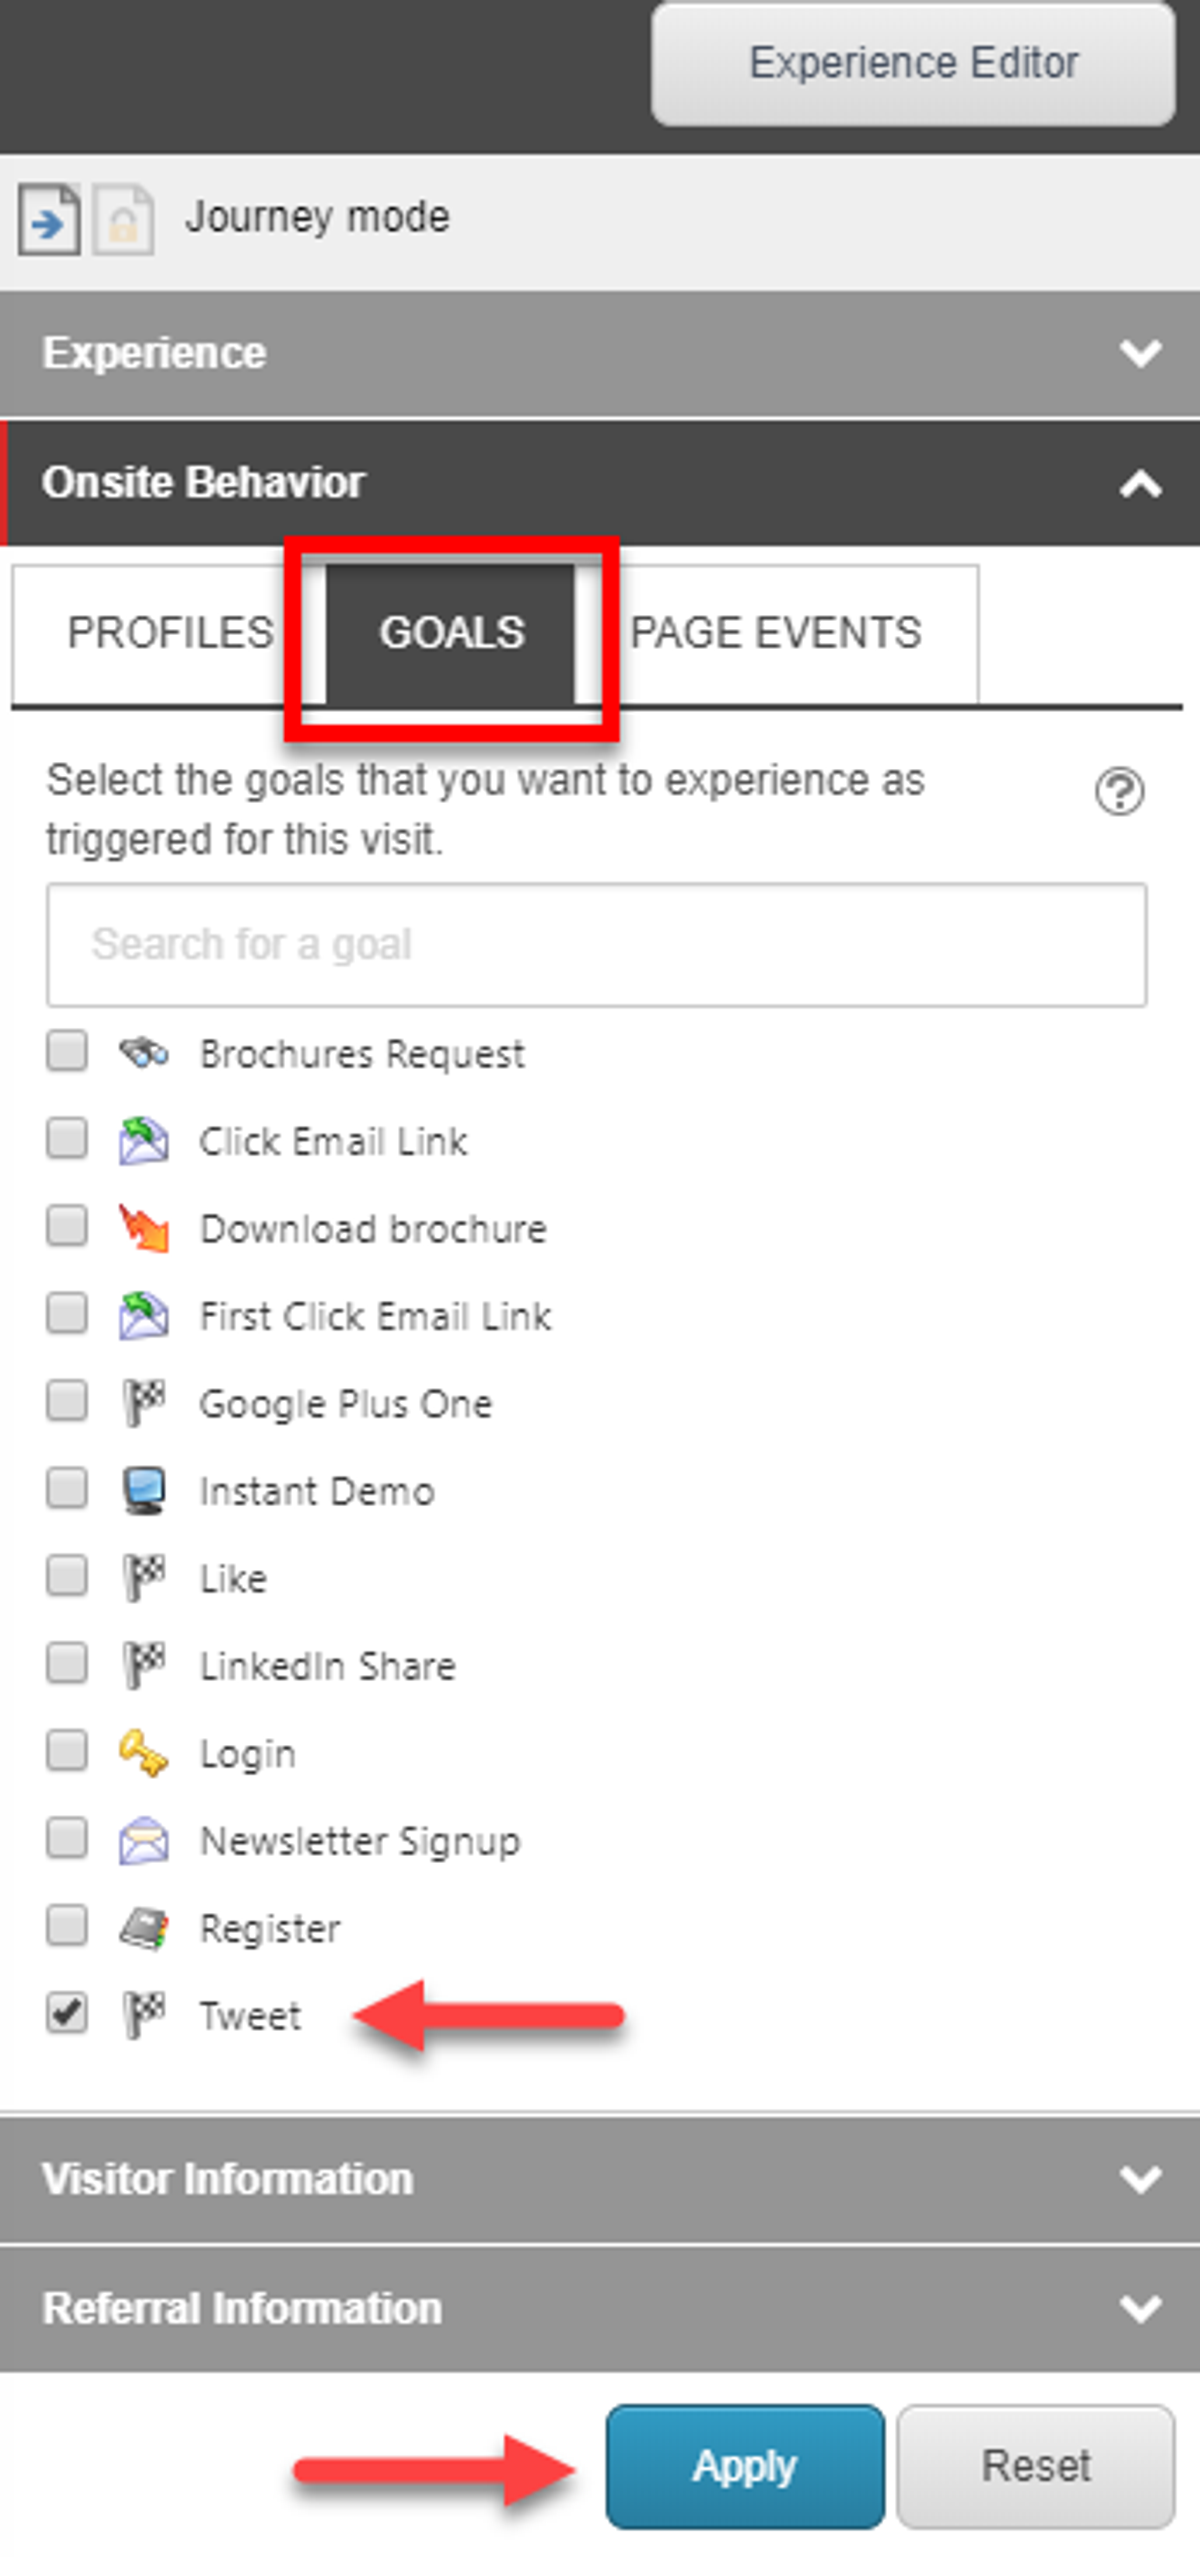
To simulate the goal, I opened the Journey Mode panel, clicked on the Goals tab, selected the “ Tweet” goal and clicked the Apply button.
There are literally an unlimited number of variations you can run, so we recommend you “explore” and simulate until your heart’s content.
Read Next
Productivity Tips for Sitecore Content Authors and Experience Marketers